Introduction
Welcome to the world of website optimization! As many of us have started exploring the creative potential of DALL·E for generating images, it’s important to understand how these images can affect your website’s performance. While DALL·E generates stunning visuals, the file sizes can be quite large – often around 2MB. For a streamlined web experience, you ideally want these images closer to 100KB. Let’s look at why and how you can achieve this without losing image quality.
The Impact of Large Images on Website Speed
Uploading high-resolution images directly from DALL·E to your WordPress site can significantly slow down your page loading times. This is simply because larger files take longer to download, especially for users on slower internet connections or mobile devices. Slow websites not only frustrate visitors but can also negatively impact your search engine rankings.
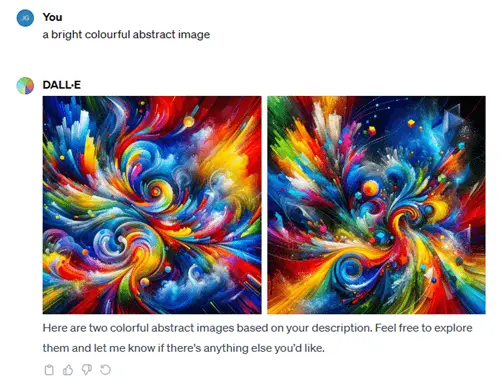
Let’s generate a sample file so I can walk you through the process of resizing and converting:

The picture above, when downloaded, was 2.36MB (Megabytes) in storage size and is also 1024 pixels x 1024 pixels
Resizing: A Smaller Frame with the Same Beauty
The first step in optimization is resizing the image dimensions. Large images from DALL·E might not be necessary for web use. By resizing them to the maximum size they’ll be displayed (like 480px wide for mobile displays), you reduce the file size dramatically while maintaining the essence of the image.
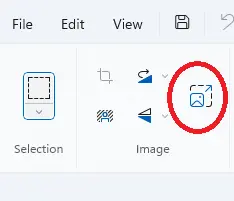
The easiest way to do this is in Paint (or any other suitable ‘image’ package). Depending on your version of Windows, your version of Paint may look sightly different, but they all have a ‘Stretch and Skew’ function.
In my version the ‘Stretch and Skew’ button looks like this:

One you have accessed the ‘Stretch and Skew’ options you can change the pixel size of the image to something more sensible.
Image Resizing Suggested Guidelines for Mobile:
- Hero Images: For full-width images, aim for the width of your target device resolution. For example, 480px wide for small devices.
- Thumbnail or Small Images: Consider smaller widths like 100px to 200px.
- Gallery or Content Images: Typically, 300px to 600px width works well, depending on layout.
To a certain extent, this step is a little bit of trial and error. You may have to try a couple of different sizes before you find one that is most suitable for your needs. For the purposes of this example, I’ve chosen 300×300 pixels.
When the image has resized remember to save it somewhere. I tend to add the pixel size in the file name such as: “DALL-E Example Picture (300×300).png” as I find that’s a helpful way to keep track of what the image is about and its pixel size.
Compression: Reducing File Size, Not Quality
Image compression is your next tool. By using software or online tools, you can reduce the file size without a noticeable loss in quality. This process removes redundant data in the image file, making it lighter and faster to load.
Our file that we resized to 300×300 pixels has already reduced in file size to 240kb (kilobytes), so we are already making great progress!
I recommend the free online service at TinyPGN to compress the image further:

Either drag and drop your image into the blue box, or otherwise clicking on the blue box opens up a file window and you can add your picture file directly. After a few seconds you’ll be able to download the compressed file, all thanks to George the Panda!
The file size is now… Only 57kb!
WebP: The Future of Web Images
Converting your images to the WebP format is the final step. This modern format offers superior compression and quality characteristics compared to traditional formats like JPEG or PNG. WebP images are often significantly smaller in file size but retain high-quality visual elements.
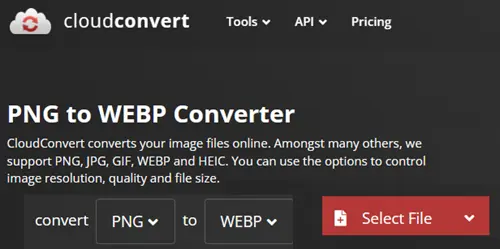
My recommendation is the free WebP Conversion software at Cloud Convert
From the main home screen, simply select your picture file, choose ‘WebP’ from the conversion options and in a few seconds you will have a WebP file that you can download.

Here is the final image, which is now only 28kb in size!

Conclusion
This process is a little bit fiddly when you first start, but it does get easier the more images you optomize. Remember, the goal is to balance aesthetic appeal with functional performance. By resizing, compressing, and using efficient image formats like WebP, you can however keep your website fast as well as visually stunning. Happy optimizing!
Be First to Comment